In this post, I will go through how to set up a simple event stream from server-side Tag Manager directly to BigQuery. The idea is to keep the setup as simple as possible. That way, it’s suitable for different kinds of experimentation and debugging needs.
Post updates
- 2024-03-08: Updates to the BigQuery Event tag template: new id fields and an updated schema.
Things to consider when sending data to BigQuery
BigQuery supports ingesting data directly to tables using the Streaming API. However, the API requires that the destination table is already configured and ready to go. In addition, the table must have a proper schema that matches the incoming event data. Any event that doesn’t match the schema will be dropped.
Fortunately, BigQuery supports nested fields. Nesting the event parameters into an array allows for a schema that doesn’t require an update every time a new parameter is added. We’ll do this by using a similar schema as what GA4 uses. The schema consists of an event_params array which contains one record per event parameter. The records have three fields for being able to store different data types: string_value, int_value, and float_value.
Setting up the destination table in BigQuery
First, let’s head to BigQuery and create the table that will store the events sent from Server-side GTM. If you wish, you can start by creating a new dataset. The dataset’s configuration will define the data location for the tables inside it.
Once the dataset is in place, click on the three dots next to the dataset and create a new table. Give your table a name and click to edit the schema as text.
Copy the full schema definition below and paste it into the schema editor.
[
    {
        "description": "Event timestamp in milliseconds",
        "mode": "REQUIRED",
        "name": "timestamp",
        "type": "INTEGER"
    },
    {
        "description": "Name of the event",
        "mode": "NULLABLE",
        "name": "event_name",
        "type": "STRING"
    },
    {
        "description": "User identifier",
        "mode": "NULLABLE",
        "name": "user_id",
        "type": "STRING"
    },
    {
        "description": "Device-based identifier",
        "mode": "NULLABLE",
        "name": "device_id",
        "type": "STRING"
    },
    {
        "description": "Session identifier",
        "mode": "NULLABLE",
        "name": "session_id",
        "type": "STRING"
    },
    {
        "description": "Event data parameters and their values",
        "mode": "REPEATED",
        "name": "event_params",
        "type": "RECORD",
        "fields": [
            {
                "description": "Parameter name",
                "mode": "NULLABLE",
                "name": "key",
                "type": "STRING"
            },
            {
                "description": "Value stored in one of the record's fields",
                "mode": "NULLABLE",
                "name": "value",
                "type": "RECORD",
                "fields": [
                    {
                        "name": "string_value",
                        "type": "STRING",
                        "mode": "NULLABLE"
                    },
                    {
                        "name": "int_value",
                        "type": "INTEGER",
                        "mode": "NULLABLE"
                    },
                    {
                        "name": "float_value",
                        "type": "FLOAT",
                        "mode": "NULLABLE"
                    }
                ]
            }

        ]
    }
]
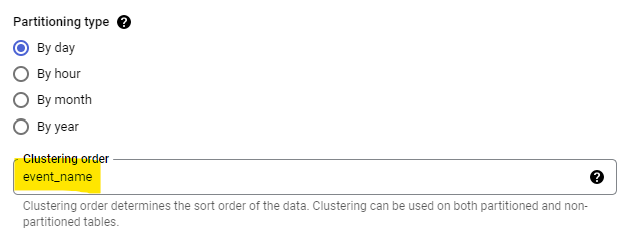
Before creating the table, remember to configure the partitioning setting. Partitioning is an essential feature as it will reduce the amount of data that BigQuery will scan whenever you query the table. With large tables, partitioning will add a significant performance improvement and decrease query costs.
Select partition by ingestion time. In the partitioning type, you can select the granularity of the partitions into which the data will be organized.
To improve query performance further, you can add “event_name” in clustering order. Clustering based on event_name will make the queries more efficient when event_name filters are applied.

After that, you’re good to go and can create the table.
Creating the event tag
Create a new tag using the BigQuery Event tag template. You can find the tag template in the community template gallery.

The tag is quite simple to use: Each event will include the current time as a millisecond timestamp, the name of the event, and any parameters you decide to add.
This example setup collects the name of the event together with page_location:

Querying the event data
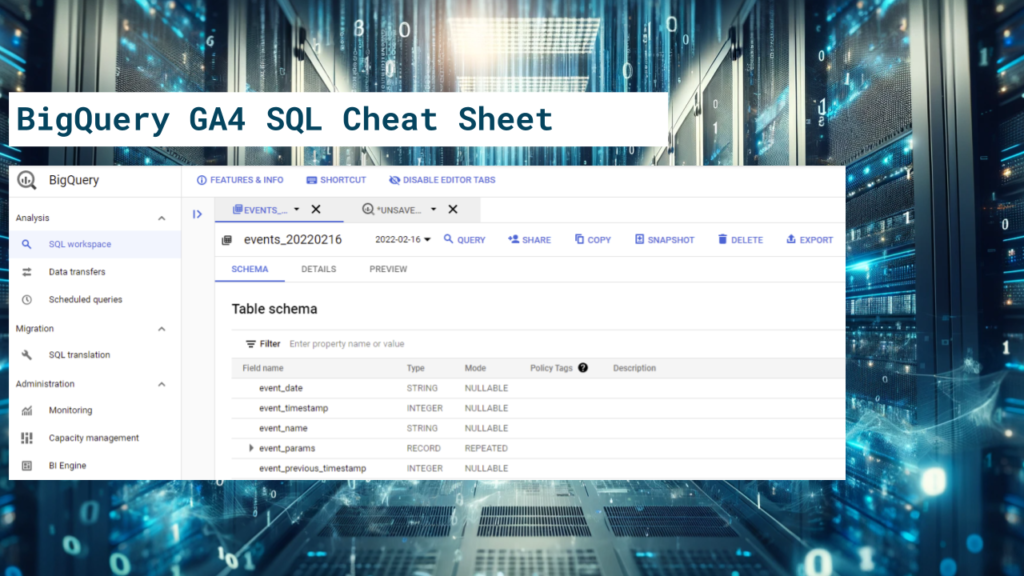
Because of the schema similarities and the data being event data, querying the data is very similar to querying GA4 data.
Below is an example query on extracting the individual parameters from the events using unnest.
SELECT
  extract(date from timestamp_millis(timestamp)) as date,
  event_name,
  (select value.string_value from unnest(event_params) where key = 'page_location') as page_location
FROM
  `<project-id>.server_side_bigquery.events`
WHERE
  DATE(_PARTITIONTIME) = "2022-05-24"
You can check my BigQuery SQL cheat sheet for GA4 post for more tips on how to work with event data in BigQuery.
Summary
Streaming events from server-side GTM to BigQuery is relatively straightforward. However, as the setup is just a simple event stream, it lacks the processing that analytics tools have. Because of this, things like user-level fields are missing. However, it’s always possible to do the processing later once the data hits BigQuery.


Hello, I get an error access denied when the tag fired/